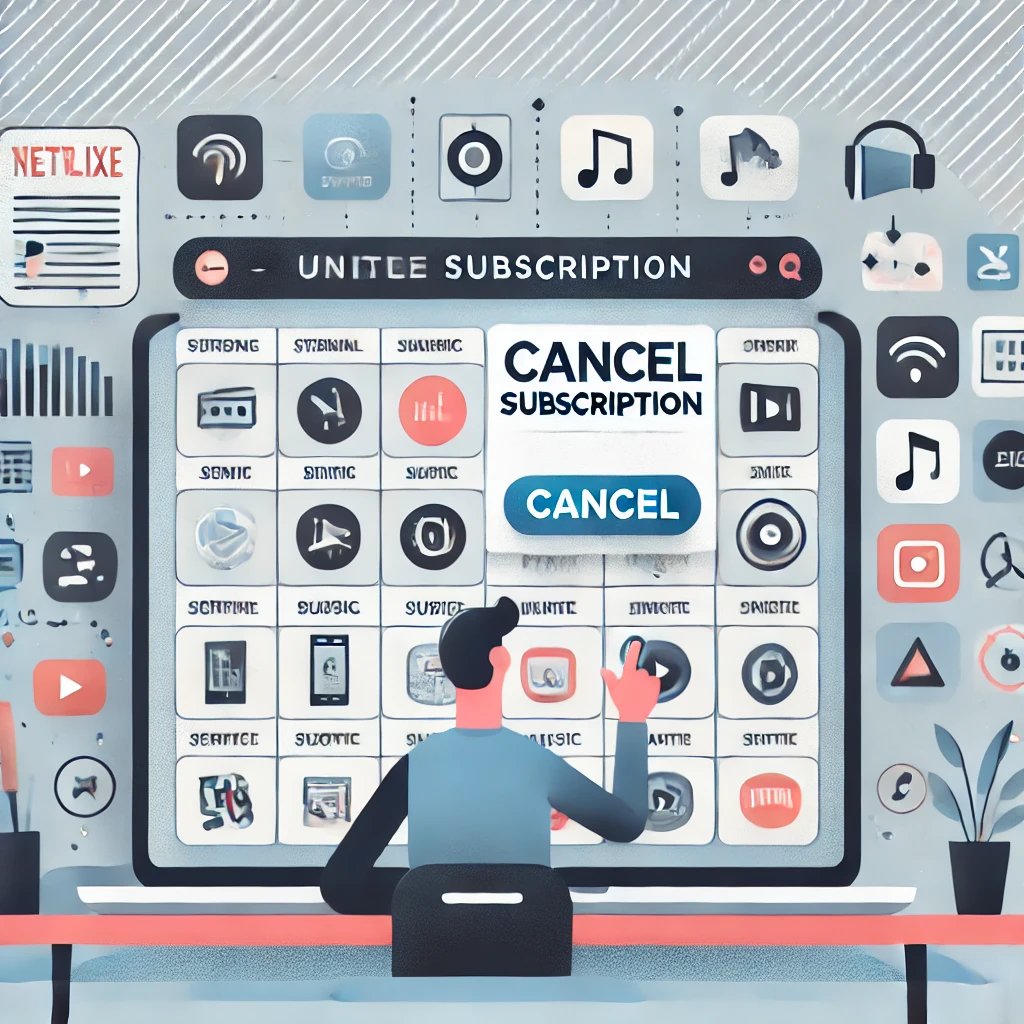
Finding and canceling unwanted online subscriptions can save you money and help you declutter your digital life. Here’s a step-by-step guide to help you identify and cancel subscriptions you no longer need:
Step 1: Identify Your Subscriptions
1. Check Your Email
- Search your inbox for keywords like:
- “Welcome to”
- “Subscription confirmation”
- “Renewal notice”
- “Payment receipt”
- Look for emails from services you may have subscribed to.
2. Review Bank and Credit Card Statements
- Go through your bank or credit card statements for recurring charges.
- Look for names of services or companies you don’t recognize.
3. Use Subscription Tracking Tools
- Use apps or services designed to track subscriptions, such as:
- Rocket Money (formerly Truebill)
- Trim
- PocketGuard
- Subby (for iOS)
- These tools can scan your accounts and identify recurring payments.
Step 2: Cancel Unwanted Subscriptions
1. Visit the Service’s Website
- Log in to the website or app of the subscription service.
- Navigate to the “Account,” “Settings,” or “Billing” section.
2. Locate the Cancellation Option
- Look for options like:
- “Cancel subscription”
- “Turn off auto-renew”
- “Manage subscription”
- Follow the prompts to cancel.
3. Check for Third-Party Platforms
- If you subscribed through a third-party platform (e.g., Apple App Store, Google Play, PayPal), cancel through that platform:
- Apple App Store: Go to Settings > [Your Name] > Subscriptions.
- Google Play: Open Google Play Store > Profile > Payments & Subscriptions > Subscriptions.
- PayPal: Log in to PayPal > Settings > Payments > Manage Automatic Payments.
4. Contact Customer Support
- If you can’t find a cancellation option, contact the service’s customer support.
- Provide your account details and request cancellation.
Step 3: Prevent Future Unwanted Subscriptions
1. Use Virtual Credit Cards
- Use virtual credit cards (e.g., through Privacy.com) for free trials or subscriptions. Set spending limits or expiration dates to avoid unwanted charges.
2. Set Reminders for Free Trials
- Mark your calendar with the end date of free trials to cancel before being charged.
3. Regularly Review Subscriptions
- Periodically check your bank statements and subscription tracking tools to ensure you’re only paying for what you use.
Step 4: Monitor for Confirmation
- After canceling, check for a confirmation email or notification.
- Verify that no further charges appear on your bank or credit card statements.
By following these steps, you can efficiently find and cancel unwanted online subscriptions. Let me know if you need help with a specific service!
